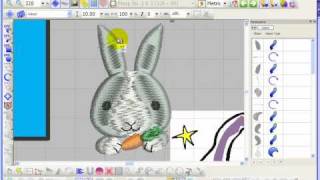
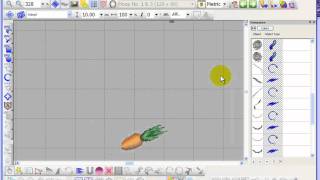
Main Overview Notes: This video will show how to insert an object part way through the stitches of an object. This video demonstrates how to show and hide stitches, visualizer, vectors, grid, applique fabric, hoop and needle points.
Digitizer Mbx Tutorial Print Options - Anime Overview
Use this page to review Digitizer Mbx Tutorial Print Options with important details, common questions, and next-step references before opening more specific references.
In addition, this page also connects Digitizer Mbx Tutorial Print Options with for broader topic coverage.
Anime Overview
This video will show how to hide parts of a design by a selected object or colour. This video demonstrates how to show and hide stitches, visualizer, vectors, grid, applique fabric, hoop and needle points.
Anime Details That Matter
This video will review the object details for stretchiness compensation. This video will show how to insert an object part way through the stitches of an object.
Celebrity Quick Tips
Use the related entries as follow-up paths when you need more examples, current details, or alternative wording.
What Readers Mean
This part keeps Digitizer Mbx Tutorial Print Options connected to practical references instead of leaving it as a single isolated phrase.
Quick reference points
- This video will show how to hide parts of a design by a selected object or colour.
- This video will show how to insert an object part way through the stitches of an object.
- This video demonstrates how to show and hide stitches, visualizer, vectors, grid, applique fabric, hoop and needle points.
- This video will review the object details for stretchiness compensation.
What this page helps clarify
The value of this overview is clearer context for Digitizer Mbx Tutorial Print Options before choosing what to open next.
Useful FAQ
What makes Digitizer Mbx Tutorial Print Options easier to understand?
Clear headings, short explanations, practical notes, and related entries make Digitizer Mbx Tutorial Print Options easier to scan and compare.
Why can Digitizer Mbx Tutorial Print Options have different answers?
Different sources may focus on different regions, dates, providers, versions, policies, or user situations.
How does Digitizer Mbx Tutorial Print Options connect to tv?
Digitizer Mbx Tutorial Print Options can connect to tv when readers need context, examples, comparisons, or practical next steps inside the same topic area.